Detailed instructions for incubating hair at home with high efficiency
Step 1: Prepare hair care products at home
The first step in the “secret” guide to incubating hair at home is to prepare a hair product that is suitable for your current hair condition. There are many different brands of ice cream on the market. These products come in a variety of price points and are suitable for a variety of hair conditions. To choose the most suitable incubation cream, you need to understand your current hair health like? Is your hair dry, brittle, dandruff, itchy or too oily…? In addition, you can also choose home-made hair masks from natural ingredients. The advantage of this type of mask is that it is cost-effective, highly effective and almost does not cause unwanted side effects..

Step 2: Clean your hair
Cleaning the hair and scalp with shampoo and conditioner is a necessary stepping stone for the nutrients of the cream to be best absorbed by the hair. Whether your hair is smooth or greasy, do not skip this step. After you have cleaned your hair, use a soft towel to absorb any remaining water on your hair. At the same time, remove tangled hair gently with your hands or a wide comb. Do not use a thick-toothed comb or manipulate it vigorously, because this is when the hair is weak and most susceptible to damage.

Step 3: Apply the cream to the entire hair
Applying hair cream properly is also an important thing that you need to keep in mind in the instructions for incubating your hair at home. First, divide your hair into small sections (about 3-4 parts) for easier and more even application of the cream. Take an appropriate amount of cream, apply the cream gently from the trunk to the ends of the hair. Focus mainly on the ends of the hair as this is the part that suffers the most. Repeat for all the rest.

If your scalp condition is oily, your hair is easy to stick, you should limit applying the cream directly to the scalp. If your scalp condition is dry skin, you can combine it with a gentle massage for a few minutes so that the nutrients are promoted, stimulating the absorption process into the hair faster. This also depends on what hair conditioner you are using? It is better to use a specialized hair mask for each hair condition. In addition, during the hair incubation process, you should not use too long nails to scratch the scalp. Because it will make the scalp hurt and scratched.
Step 4: Secure your hair with a hood
After you have applied the hair cream evenly and combined with gentle massage for a few minutes, then fix your hair. You can use a clean cotton towel to wrap your hair up. Or you look to buy a hood. Hoods can be easily purchased at grocery stores, hair care products stores, supermarkets, etc. at low prices.

Step 5: Hair incubation time
Each type of cream product will have a different incubation time. You should carefully read the instructions for use of the product you are using. If you use a mask from nature, depending on the condition of your hair and the material, the incubation time will be different. Usually, dry, severely damaged hair will need a longer incubation time. This will help strengthen the moisturizing and comprehensive process of hair restoration. If the hair is oily and greasy, the incubation time will be shorter. This is also a note in the step-by-step instructions for incubating hair at home that you need to keep in mind.

Step 6: Rinse your hair with cool water
After the incubation period is over, rinse your hair with cool water. Do not use hot water as it will dry out your hair. Cool water will also help your hair lock in moisture slowly. You also don’t need to use extra hairspray or conditioner anymore. This step should be done gently so that the nutrients are not washed away.

Step 7: Dry your hair
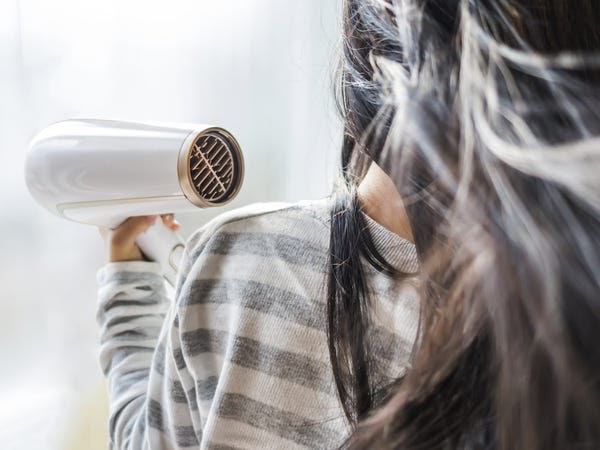
An equally important thing in the “handbook” of instructions for incubating hair at home is to dry your hair properly. First, use a clean cotton towel to absorb the remaining water on the hair. Then let the hair dry naturally and absolutely do not use a thick comb to brush when the hair is still wet. If you must use the dryer, turn on the cool blowing mode. Or use warm temperatures and keep a safe distance from your hair.

Notes when doing hair incubation at home
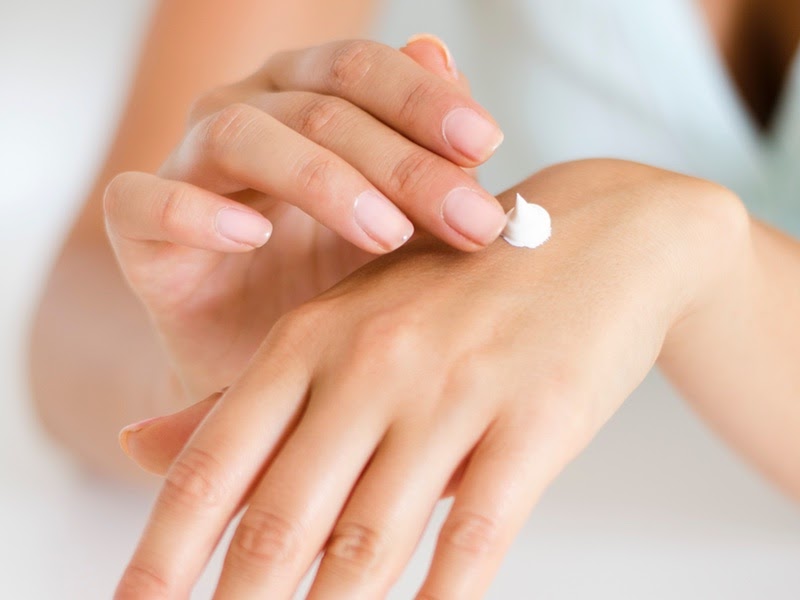
▸When choosing a warming cream product, you need to carefully check the ingredients of that product. At the same time, you should test it on your hands first to make sure you are not allergic to this cream product. If you use natural home remedies for hair, you should also pay attention to this issue. Are you allergic to any natural ingredients? If so, try another type of mask.

▸ One thing you always have to do correctly in the instructions for incubating your hair at home is to wash your hair. The mixture of cream remaining on the hair is easy to cause a sticky scalp.
▸ After incubating hair, rinse with cold water. Do not use any other shampoo or conditioner products. If using a natural hair mask, you can use a mild shampoo to remove the natural smell of this material.
▸ Incubation instructions at home tell you a little tip to reduce excess oil and stickiness, that is, watch the hair incubation time just enough. Don’t think that the longer your hair is incubated, the better. You should not abuse this. Especially for those of you with an oily scalp. Doing hair incubation for too long can make your hair become greasy faster only.
▸ For styled hair, it is advisable to choose a suitable incubation cream. For example, if you have permed hair, you should use moisturizing and protein-rich products. Because the process of curling under high heat will make your hair dry and weak. Please add nutrients afterwards, to restore damage gradually.

▸A guide to incubating hair at home specifically for oily hair and scalp. You should choose cream products with a light texture. In addition, choosing products with oil control is also essential.
▸ For those of you with dry, brittle hair, you should choose high-moisturizing cream products. The same goes for masks from nature. Coconut oil, olive, avocado, … are some ingredients that provide very good moisture to the hair.
Some effective and cost-effective natural at-home hair masks
1 – Natural hair mask for dry, frizzy hair
The home remedy for dry, frizzy hair is eggs. Eggs are high in protein, so they are great for making hair smoother and stronger. When combined with yogurt has the ability to effectively clean will become a perfect mask to help you regain strong hair. Step-by-step instructions for incubating hair at home with egg and yogurt ingredients are as follows:
– Beat the mixture of 1 egg and 1 jar of unsweetened yogurt.
Apply this mixture evenly on your hair.
– Incubate hair for about 30 minutes.
– Rinse with cool water and mild shampoo.
– Let your hair dry naturally.

2 – Natural hair mask for oily, greasy hair
An easy-to-find and low-cost home remedy for hair growth is yogurt. Yogurt has a high antioxidant capacity. Moreover, this is also an ingredient that contains many essential vitamins, protein and calcium to nourish healthy hair. With the good control of sebum and excess oil, yogurt is a must-have ingredient for those with greasy hair. Follow these steps to make your hair at home:
– Mix 1 jar of unsweetened yogurt, 1 tablespoon of honey and 1 tablespoon of apple cider vinegar.
– Apply this mixture evenly on the hair, combine gently massage.
– Incubate hair for about 15 minutes
– Rinse with cool water and mild shampoo.
– Let your hair dry naturally.

3 – Natural hair mask for dandruff, itchy hair
Here are instructions for at-home hair treatment for dandruff, itchy hair from oats. Oats not only have the effect of getting in shape for girls, but also very good in nourishing shiny hair. The combination of oatmeal, fresh milk and olive oil will help reduce dandruff, uncomfortable itching. Follow these steps:
– Mix together half a cup of oatmeal, half a cup of unsweetened fresh milk and 2 tablespoons of olive oil.
Apply this mixture evenly on the entire hair and scalp. Combine with gentle massage.
– Incubate hair for about 20 minutes.
– Rinse with cool water and mild shampoo.
– Let your hair dry naturally.

Above is a guide to incubating hair at home properly, simply and effectively. Check the current health of your hair to choose the right conditioner. Experts can be consulted for better understanding. Wish you soon get back healthy, shiny and bouncy hair. Don’t forget to visit LUXY regularly to update useful information on hair care and current trending hairstyles.


